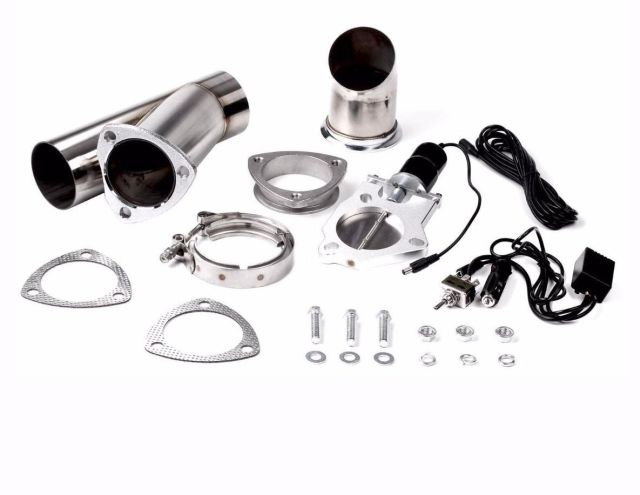
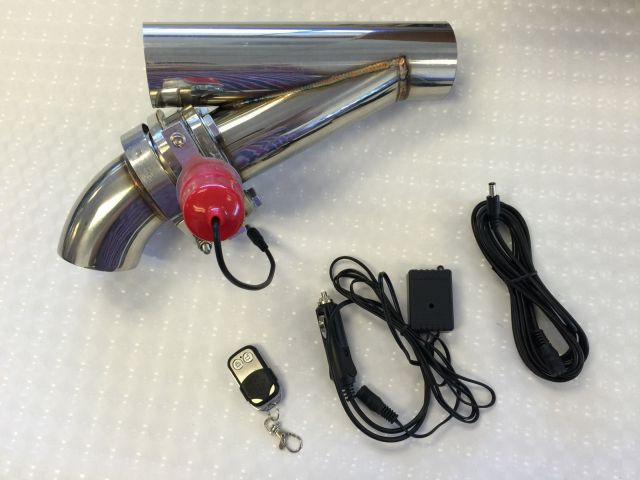
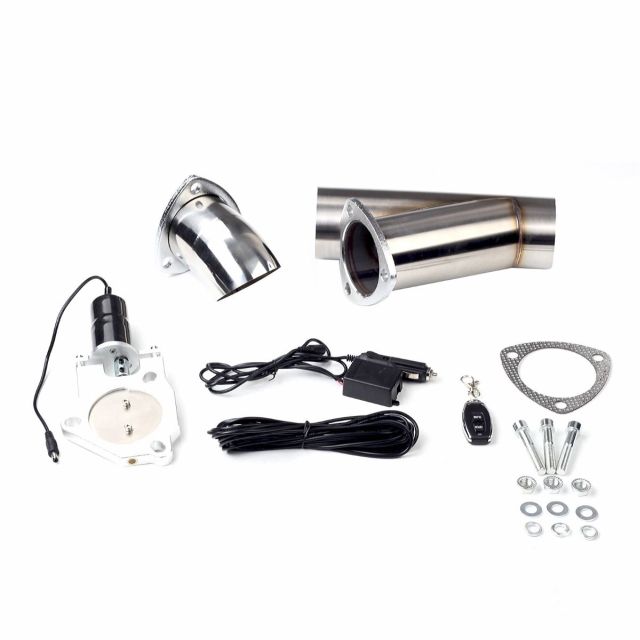
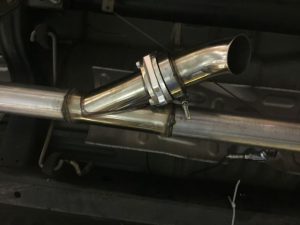
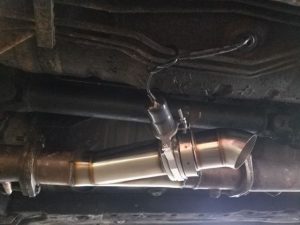
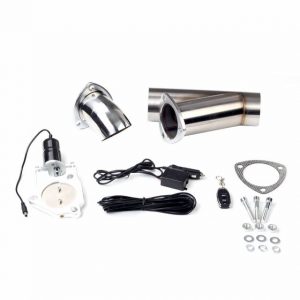
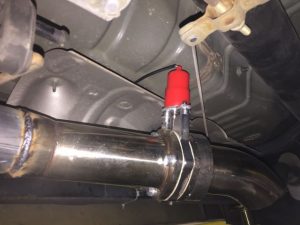
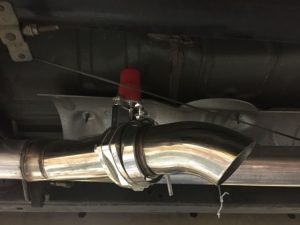
2.5” 63mm Electric Exhaust Catback Downpipe Cutout E-Cut Out Valve System
Price list
Still could not find the Part? Contact us @ Find Exact Part in 24 Hours
Specification
| Brand | 1320 Performance, Maxon Auto Corporation, TC-Home, Tengchang, Zimtown |
|---|---|
| Vehicle Fit | This Kit is compatible with all vehicles |
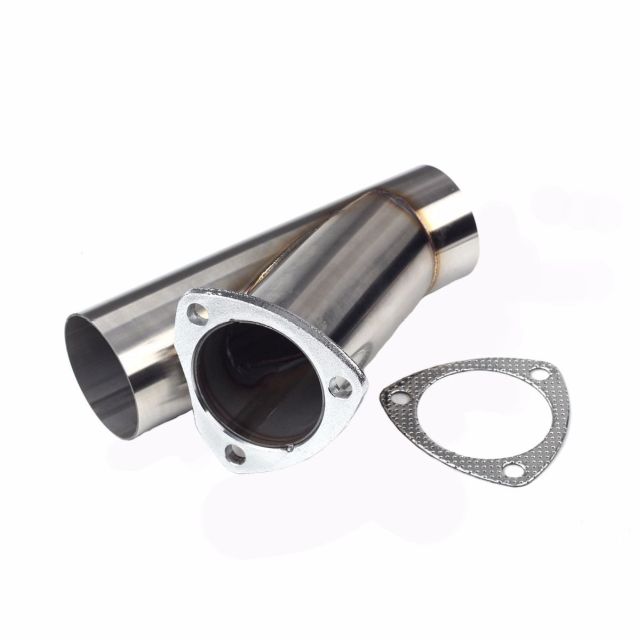
| Inlet/ Major Piping Diameters | 2.5" (63mm) |
| Piping Material | High-Quality T-304 Stainless Steel |
| Fitment | Universal |
| Electric Cutout Kit Material | Lightweight CNC Machined Anodized T-6061 Aircraft Aluminum Alloy |
| Construction | High Polished Finish & Tig Welded Construction |
| Valve Material | Aluminum Alloy |
| Part Number | EC17510, 0190028X, EC17509, 1320-2.5-electric-cutout |
| Condition | New |
Fit In Five Steps
How to replace an Electric Exhaust Catback Downpipe Cutout E-Cut Out Valve System?
1.Secure the Vehicle
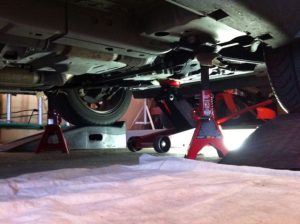
Park your car in a well-ventilated area. If you don’t have a lift, jack up the back end so you can get under it. Use ramps or a jack, whichever you have. Be sure to lock the emergency brake and chock at least one wheel that is still on the ground. Make sure to block the car using jack stands, wooden blocks or other sturdy blocks. Never use just a jack; the car may fall on you. Check the stability of your setup. If there is any doubt that your jack/block configuration is stable, adjust your setup. Examine the situation and imagine what you will replace and how you will get it off of the car. Look for obstructions to the removal process.
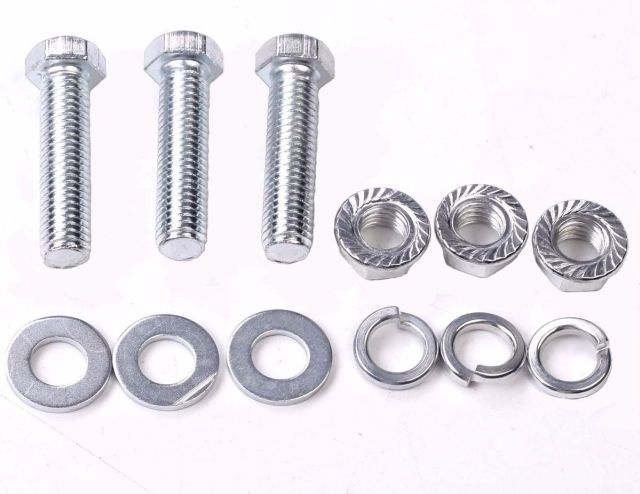
2.Locate and Remove the Bolts
You may need to begin at the exhaust manifold, the crossover pipe, or the catalytic converter. Don’t forget gaskets for between the components. If you are unsure about all that you might need, ask at your local auto parts store or find a model-specific exploded diagram of your exhaust system in a repair manual or online. Don’t forget gaskets for between the components, penetrating oil, and hangers. Lay everything out and visually test fit the assembly as accurately as possible. Try to identify and correct problems before you take off the old exhaust system.
3.Remove the Catback Downpipe with Exhaust
Unbolt the stock exhaust system starting from the back of the car and working your way forward. Generally, the bolts are rusted and hard to get off unless you have an impact gun. Use some penetrating oil to aid removal and remember that, sometimes, tightening a nut or bolt just a bit, breaks it free, allowing you to remove the bolt or nut. Remove the system from the hangers and set all of your parts aside. You should now have all the piping removed. If you have new hangers (recommended as stock ones are soft and old), cut the old ones off with some kind of cutting tool. A high-speed rotary tool fitted with a cutting disk or a side grinder will work. Depending on the type of hangers your car has, put the new hangers onto the exhaust pieces first, this is usually an easier way to put the exhaust parts back on. Starting from the front of the car, hang the exhaust part up then bolt it onto the upstream pipe.
4.Replace the New Catback Downpipe with Exhaust
Start tightening each segment to the first, after all, pipes are attached. Use a good amount of torque on each bolt to make sure it’s tight. Take a few steps back and make any alignment adjustments you need so that the tailpipes are even with the bumper and look good when you get to the back.
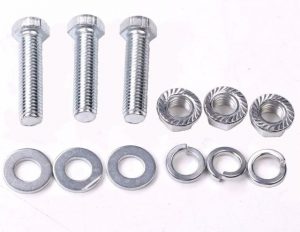
5.Rearrange All Removed Parts
Double check and tighten all the bolts. Tighten the bolts and replace all removed parts. Lower the vehicle to the ground and road test the vehicle to verify the repair. Start the car up and locate any leaks you may have.


$54.99


Got something to discuss?