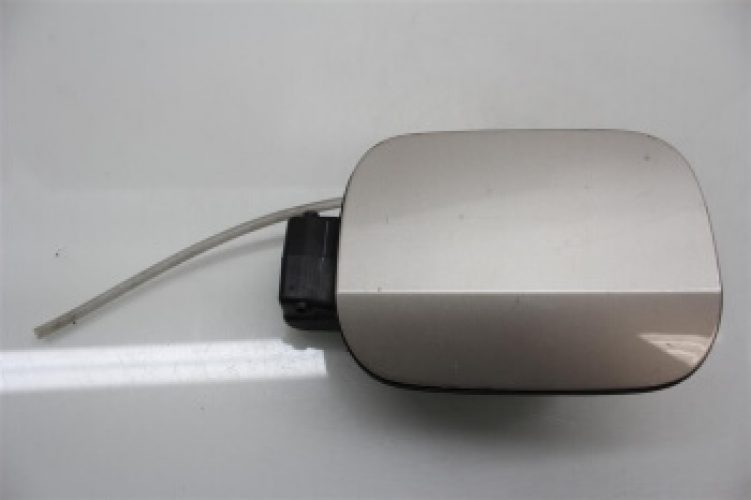
2011-2016 Volkswagen Jetta Single Fuel Filler Cap Flap Door Cover Mixed Color
Price list
Still could not find the Part? Contact us @ Find Exact Part in 24 Hours
Specification
| Brand | |
|---|---|
| MPN | 5C6 809 857 C |
| Year | 2011, 2012, 2013, 2014, 2015, 2016 |
| Make | |
| Model | Jetta |
| Trim | Sedan 4-Door, Wagon 4-door |
| Engine | 1.4l 1395cc 85cu. In. L4 Electric/gas Dohc Turbocharged, 2.0l 1984cc 121cu. In. L4 Gas Sohc Naturally Aspirated, 2.5l 2480cc 151cu. In. L5 Gas Dohc Naturally Aspirated |
| Placement on Vehicle | Rear |
| Fitment Type | Direct Replacement |
| Material | Plastic |
| Surface Finish | Brand New |
| Color | Mixed Color |
| Warranty | 1 Year |
| Part Number | 5C6 809 857 C, 5C6809857B, 5C6 809 857 A, 5C6 809 857 D |
| Condition | New |
Fit In Five Steps
How to replace a Volkswagen Jetta Fuel Filler Cap?
1.Materials Needed for Repair
- Allen wrench set
- Combustible gas detector
- Flashlight
- Flat tip screwdriver
- Fuel filler cap
- Fuel resistant gloves
- Needle nose pliers
- Protective clothing
- Safety glasses
- Torques bit set
2.Secure the Vehicle
Make sure that the transmission is in park mode (for automatics) or in 1st gear (for manuals). Place wheel chocks around the front tires that will remain on the ground since the rear of the vehicle will be lifted up. Engage the parking brake to prevent the rear tires from moving.
3.Remove the Old Fuel Filler Cap
Open the fuel door to gain access to the fuel filler cap. Look at the fuel filler cap for any exterior damage. Remove the fuel filler cap from the fuel filler neck and remove the cable from the fuel door. Look at the threads on the cap to see if they are stripped. Remove the gasket that is on the bottom of the fuel filler cap. Check the gasket for any cracks or distortion. If you notice any damage, the fuel filler neck may be failing. Use a clean cloth or paper towel to clean the threads on the fuel filler neck.
4.Install the New Fuel Filler Cap
Screw the new fuel filler cap onto the fuel filler neck. Ensure that the threads lock fully onto the fuel filler neck. Use the combustible gas detector and verify that there are no fuel vapors leaking from the fuel filler cap. Close the fuel door.
5.Test Drive & Check for Leakage
During the test drive, go over different terrain like bumps to allow the fuel to slosh around inside the fuel tank. This will cause the fuel to bubble up and create mass amounts of vapor. Monitor the dash for the engine light to appear.
BUY HERE

$20.64


Got something to discuss?