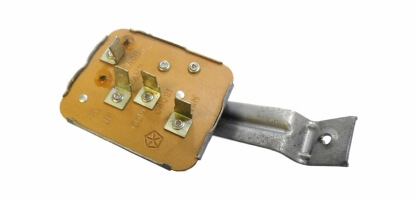
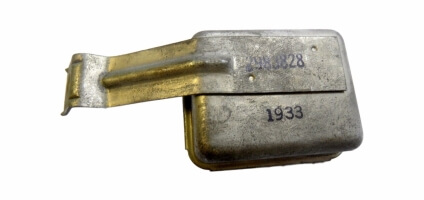
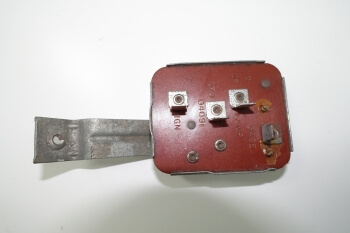
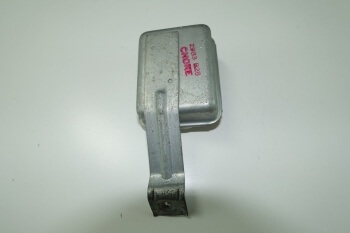
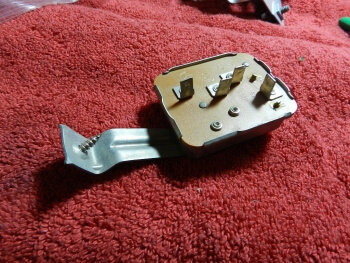
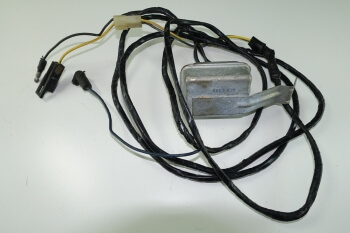
1970-1971 Dodge Plymouth OE Overhead Console Low Fuel Pump Relay
Price list
Still could not find the Part? Contact us @ Find Exact Part in 24 Hours
Specification
| Brand | |
|---|---|
| MPN | 2983828 |
| Year | 1970, 1971 |
| Make | |
| Model | AAR Cuda, Barracuda, Challenger, Challenger R/T, Challenger TA, Cuda 340, Cuda 383, Cuda 440, Cuda 440-6, Hemicuda, R/T SE |
| Trim | All |
| Engine | All |
| Placement on Vehicle | Front |
| Fitment Type | Direct Replacement |
| Part Number | 2983828, 3636391 |
| Condition | Used, New |
Fit In Five Steps
How to replace a Dodge Plymouth OE Overhead Console Low Fuel Pump Relay?
1.Secure Vehicle
Turn on the ignition key to run. Listen for the fuel pump to actuate. Also, listen to the fuel pump relay for any buzzing or clicking noise. Check that there is oil pressure. On some vehicles, there will only be an oil light indicator. When the indicator light goes out, then there is oil pressure. Make sure that the transmission is in a park (for automatics) or in 1st gear (for manuals). In this case, the wheel chocks will be around the front tires since the rear of the vehicle will be lifted up. This will keep your computer live and keep your setting current in the vehicle. If you do not have a nine-volt battery saver, that is okay.
2.Locate Dodge Plymouth Low Fuel Pump Relay
Open the vehicle’s hood to disconnect your battery. Take the ground cable off of the battery’s negative post disabling the power to the fuel pump and sending unit. Locate the fuse box in the engine compartment. Remove the cover to the fuse box. Once you open up the fuse box, you can use the diagram on the fuse box cover to find the fuse to the fuel pump relay.
3.Remove the Old Dodge Plymouth Low Fuel Pump Relay
Pay attention to how the relay comes out as the new one needs to go in the same way. Also, if your fuse box cover does not have any diagrams on it, you can refer to your owner’s manual for the engine compartment fuse box diagram. Usually, owner’s manuals will have numbers listed next to the fuel pump relay for you to find the number on the fuse box.
4.Installing the New Dodge Plymouth Low Fuel Pump Relay
Install the relay into the fuse box the same way the old relay was removed. Put on the fuse box cover. Snap it into place. Remove the fuel cap from the fuel tank. Put the fuel cap back on and make sure that it makes a good seal. This will ensure that the fuel system fully pressurizes properly as the fuel pump activates.
5.Checking for Fuel Pump Relay Operation
Reconnect the ground cable back to the battery’s negative post. Remove the nine-volt battery saver from the cigarette lighter. Tighten the battery clamp up tight. Ensure that the connection is good. Turn the ignition key on. Listen for the fuel pump to activate. Turn off the ignition after the fuel pump stops making noise. Turn the key on again and listen for the fuel pump relay to buzz or click. You may have to have an additional personal touch the fuel pump relay to feel the buzz or clicking motion. Turn the key to start and start up the engine. Monitor how long the starters will be engaged for during the cranking period. Remove the wheel chocks from the wheels. Put these aside. Test drive the Vehicle after Finishing Service.


$160.00


Got something to discuss?