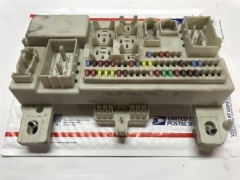
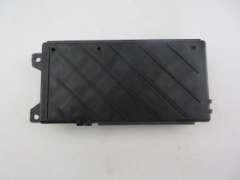
1994-1995 Honda Accord 2.2L VTEC AT Genuine OEM Engine Computer Module
Price list
Still could not find the Part? Contact us @ Find Exact Part in 24 Hours
Specification
| Brand | |
|---|---|
| MPN | 37820-P0A-A51 |
| Year | 1994, 1995 |
| Make | |
| Model | Accord |
| Trim | EX Coupe 2-Door, EX Sedan 4-Door, EX Wagon 5-Door |
| Engine | 2.2L 2156CC l4 GAS SOHC Naturally Aspirated |
| Placement on Vehicle | Front-Right |
| Fitment Type | Direct Replacement |
| Country/Region of Manufacture | Japan |
| Warranty | Yes |
| Part Number | 351-133634; 175835; 136477; 131146, 37820-P0A-A51, 37820P0AA51, POA: 37820-p0a-a50 |
| Condition | Refurbished, Used |
Fit In Five Steps
How to replace a Honda Accord 2.2L VTEC AT Engine Computer Module?
1.Check the Engine Computer
As there are often no physical differences in the ECUs that are used across different models from the same manufacturer. It is therefore imperative to check that you have the exact part number specific to your vehicle when ordering.
2.Unplug the Battery
The first step is to unplug the battery from the car so that there is absolutely no power running through your vehicles circuits. You then need to let your car sit for around quarter of an hour disconnected from any power source. This is to let all the information clear from the memory chips in the computer, ensuring that no old instructions can corrupt the new unit.
3.Remove the Engine Computer
Use your owner’s manual to find the exact location of the ECU. In many vehicles, this will be accessible through the passenger compartment of the car, although you may need to take out pieces of carpet to access the unit. When you have found the ECU you’ll need to remove the bracket and screw that hold it in place. Normally these will be Phillips head screws, so make sure you have the right kind of screwdriver. The final step is unplugging the wiring harness, which again will often be secured via a single bolt.
4.Install the New Engine Computer
When you have removed the old ECU there may be a diagnostics mode that allows you to track down the exact fault in the part, and you might even be able to perform some kind of reset that clears the problem. If you cannot revive the part in this manner then install the new ECU by attaching the wiring harness and then screwing back into its housing.
5.Reconnection
It is now time to reconnect the battery and turn on the auxiliary switch on the engine. This is where the lights come on, but the engine does not fully engage. Let the car sit for five minutes, giving the computer and ECU time to configure correctly. Finally turn off the car and start it as you would normally. The car should start right away.

$79.99


Got something to discuss?