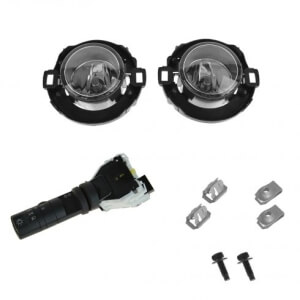

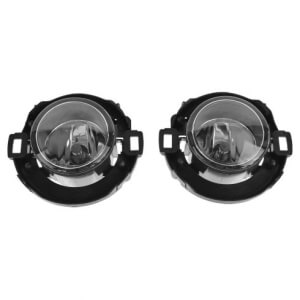

999F1KV000 | 2010-2014 Nissan Frontier & Xterra Upgrade Fog Light Kit without Steel Bumper
Price list
Still could not find the Part? Contact us @ Find Exact Part in 24 Hours
Specification
| Brand | |
|---|---|
| MPN | 999F1-KV000 |
| Year | 2010, 2011, 2012, 2013, 2014 |
| Make | |
| Model | Frontier, Xterra |
| Trim | Crew Cab Pickup 4-door, Extended Cab Pickup 2-Door, Extended Cab Pickup 4-Door, Sport Utility 4-Door |
| Engine | 2.4L 2389CC 146Cu. In. l4 GAS DOHC Naturally Aspirated, 2.5L 2500CC l4 GAS DOHC Naturally Aspirated, 4.0L 3954CC 241Cu. In. V6 GAS DOHC Naturally Aspirated, 4.0L 3954CC V6 GAS DOHC Naturally Aspirated |
| Placement on Vehicle | Front-Left, Right |
| Fitment Type | Direct Replacement |
| Bulb Type | Halogen |
| Lens Color | Clear |
| Voltage | 12V |
| Warranty | Lifetime |
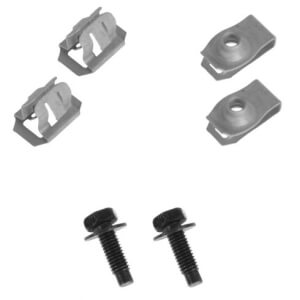
| Part Number | 999F1-KV000, 999F1KV000, AM-2931766216, NSLHT00002 |
| Condition | New |
Fit In Five Steps
How to replace a Nissan Frontier & Xterra Upgrade Fog Light Kit without Steel Bumper?
1.Materials Needed & Locate Fog Lamp
- Screwdriver assortment
- Shop light or flashlight
- Small pry bar
- Socket set
Identify the fog light switch mounted on the dash. Some will actually say “Fog” or “Fog Lights”, but most will primarily use the symbol above to represent the fog light switch.
2.Remove Trim Panel
The trim panel can be removed by either carefully prying it out with a small screwdriver or with a small pry bar. Some models will require the removal of any combination of screws and/or bolts to get the trim panel removed. Take care not to scratch the dash when removing the trim panel. You can typically remove the switch from the trim panel by pushing on the back side of the switch and through the front of the trim panel. Some switches require you to release locking tabs on the back before this can be accomplished. The locking tabs can either be squeezed together by hand or pried out lightly with a screwdriver before pushing the switch out.
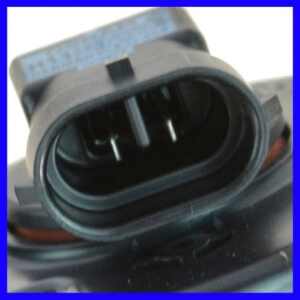
3.Disconnect Connector & Compare Fog Lamps
The electrical connector can be removed by releasing the locking tab(s) and separating the connector from the switch or pigtail. Compare the replacement fog light switch to the one that was removed. Take note that the appearance is the same, the dimensions are the same, and that the electrical connector has the same number and orientation of its pins. Plug the electrical connector into the replacement fog light switch. You should either feel or hear when the connector is seated far enough into the switch or pigtail to engage the retaining clip(s).
4.Verify Fog Lamp & Switch into Panel
Before reassembling all of the dash pieces, turn the ignition to the “run” position in order to supply power to the switch. Turn the fog lights on and verify that they are working. Now that we know the lights are working, pop the switch back into the bezel. Install it from the front and push it in until it snaps into place. Take note that it is not installed upside down.
5.Reinstall Bezel
Line up the bezel with the recess in the dash that it came from with the replacement switch installed and push it back into place. Again, you should feel or hear the retaining tabs snap into place. Also, reinstall any retaining hardware removed during disassembly.


$206.50


Got something to discuss?