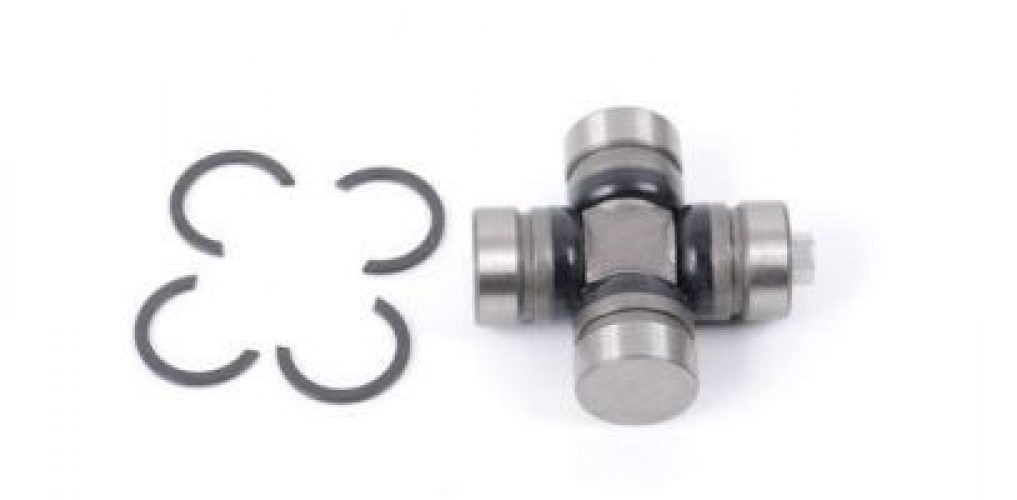
1999-2009 Toyota Highlander & Lexus RX300 RX350 Driveshaft U-Joint
Price list
Still could not find the Part? Contact us @ Find Exact Part in 24 Hours
Specification
| Brand | |
|---|---|
| MPN | HIG |
| Year | 2001, 2002, 2003, 2004, 2005, 2006, 2007 |
| Make | |
| Model | Highlander, RX300, RX330, RX350 |
| Trim | Sport Utility 4-door |
| Engine | 3.5l 3456cc V6 Gas DOHC Naturally Aspirated, 2.4l 2362cc L4 Gas DOHC Naturally Aspirated, 3.3l 3300cc 202cu. In. V6 Gas DOHC Naturally Aspirated, 3.3l 3300cc 202cu. In. V6 Electric/gas DOHC Naturally Aspirated |
| Placement on Vehicle | Front, Rear |
| Fitment Type | Direct Replacement |
| Warranty | Yes |
| Part Number | HIG |
| Condition | New |
Fit In Five Steps
How to replace a Toyota Highlander Driveshaft U-Joint?
1.Identify the Drive Shaft
The first step in replacing your u-joint is getting at it. To do this, you’ll need to remove the drive shaft. On some vehicles, you remove the drive shaft by removing the universal joint. If your vehicle is like this, follow the instructions that follow and your driveshaft will drop. If your driveshaft attaches to axle type bolts (a circle of bolts with either hex or Allen’s heads), proceed to remove that end of the driveshaft like the photo above. If your driveshaft does not have this type of end, move to the next step to see how to remove it.
2.Remove the Drive Shaft & Universal Joints Snap Rings Or C-clips
The other end of your drive shaft may look like this. If it does, you can remove it by removing the two bolts the hold the two halves of the u-joint together. The drive shaft will drop easily once this is removed. There are two types of clips that hold a universal joint together. Spicer Snap Rings are one type and are pictured in this article. The other type is standard C-clips and they are quite easy to remove as well. The steps are the same whichever clip your vehicle uses. To remove the snap rings, squeeze the ends together with pliers or a special removal tool. They should come out easily. If they have become corroded, you may need to soak the u-joint with some penetrant.
3.Press the Bearing and Joint Out & Remove Bearing Cup
With the drive shaft out of the car or truck, the next step is to remove the joint and its bearings. You’ll need to mount the end in a vice, then tap the bearing through far enough to get the joint to drop out. In most cases, a spark plug socket is the perfect tapping tool. Firmly tap the top of your socket with a hammer until the whole thing is pressed far enough in to be able to pop it out. With the joint tapped through, remove the bearing cup (it looks like a cup and is full of grease). This will enable you to remove the loose joint section fully.
4.Install the New Clips
Now that your assembly is almost back together, you can reinstall the snap rings or c-clips your universal joint uses. The rebuild kit came with new clips, and they look great, don’t they? Replace New U-Joint in your driveshaft attached to the transmission.
5.Reinstall your Drive Shaft
That’s it! To use the old auto repair adage, installation is the reverse of removal. You’re ready to reinstall your driveshaft with the new universal joint ready to provide years of service. Well done!

$40.00


Got something to discuss?