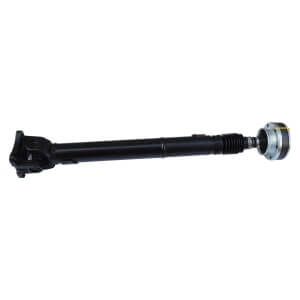
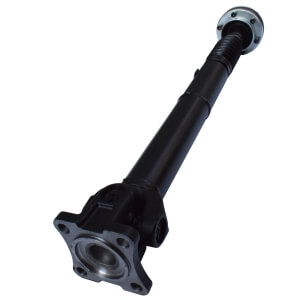

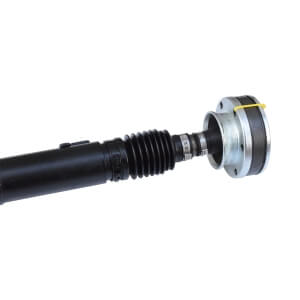
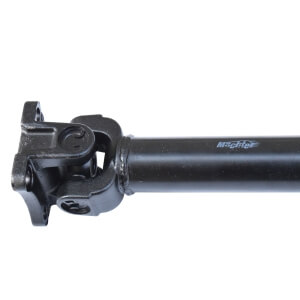
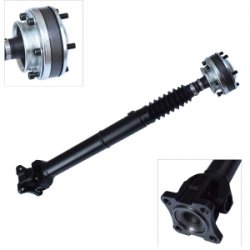
2001-2007 Dodge Dakota Durango & Mitsubishi Raider 4×4 / 4WD 26″ Complete Front Drive Shaft Assembly
Price list
Still could not find the Part? Contact us @ Find Exact Part in 24 Hours
Specification
| Brand | |
|---|---|
| MPN | 52105982AC, DSA-DODGE001 |
| Year | 2001, 2002, 2003, 2004, 2005, 2006, 2007 |
| Make | |
| Model | Dakota, Durango, Raider |
| Trim | Crew Cab Pickup 4-door, Extended Cab Pickup 2-Door, Extended Cab Pickup 4-Door, Sport Utility 4-Door, Standard Cab Pickup 2-Door |
| Engine | 2.5L 2507CC 153Cu. In. l4 GAS OHV Naturally Aspirated, 3.7L 226Cu. In. V6 GAS SOHC Naturally Aspirated, 3.9L 3906CC 239Cu. In. V6 GAS OHV Naturally Aspirated, 4.7L 285Cu. In. V8 GAS SOHC Naturally Aspirated, 5.2L 5211CC 318Cu. In. V8 GAS OHV Naturally Aspirated, 5.9L 360Cu. In. V8 GAS OHV Naturally Aspirated |
| Placement on Vehicle | Front |
| Fitment Type | Direct Replacement |
| Surface Finish | Polished, Rust Protected |
| Transmission Type | 4WD / 4×4 Model Only |
| Warranty | Yes |
| Part Number | 52105981AC, 52105982AC, 52105982AC 65-9151, CH1027, CH1027 52105981AC, DSA-DODGE001 |
| Condition | New |
Fit In Five Steps
How to replace a Dodge Dakota Durango & Mitsubishi Raider Driveshaft Propeller shaft?
1.Mark the driveshaft
Mark the driveshaft orientation before beginning. This will help return the driveshaft to its original position on the differential which can help avoid driveline vibrations once the driveshaft is reinstalled.
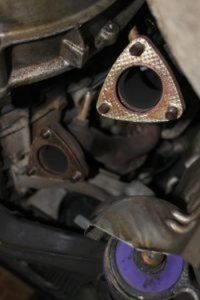
2.Remove Driveshaft Bolts and Remove Driveshaft Flange
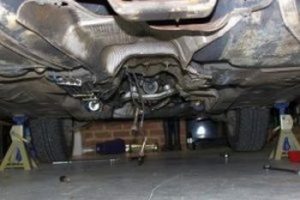
Remove the shaft differential flange mounting bolts. These bolts will be very tight so use good quality tools to avoid stripping. Some bolts can head 12 point heads as in this example which used a 13mm 12 point socket to remove. These bolts also use lock tight to avoid coming loose while in operation and can be reapplied when reinstalling. Using a plastic hammer gently shock the driveshaft lose from the differential flange by striking the rear yoke (U joint mount). At this point, the back half of the shaft will be free to hang onto it. On some cars, there will be a center support which must be undone by removing the two center support mounting bolts. When removing an older vehicle drive shaft use electrical tape to wrap around U-joint cups so they don’t fall off and release the cup needle bearings.
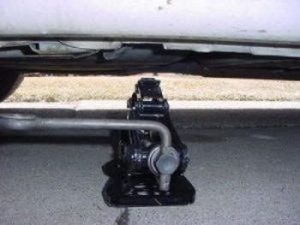
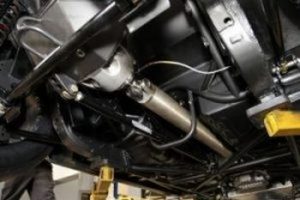
3.Remove Driveshaft
Using both hands gently slide the driveshaft from the transmission or transfer case. A small amount of fluid might leak out so have a fluid catch basin ready. This would be a good time to replace leaking transmission tail housing seal, universal joints or if removing the transmission or differential repairs are needed.
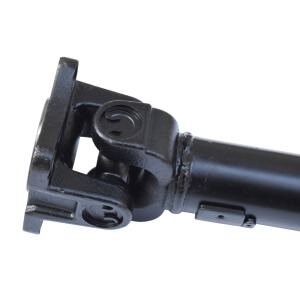
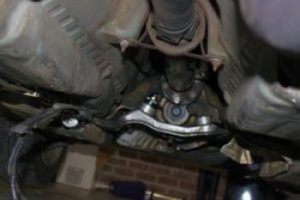
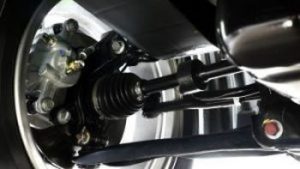
4.Check U joints and Bolts
At this point, the U joint at either end of the shaft should be checked. Grasp the yoke and move it in all directions. It should be a smooth motion with no rough spots or play in any direction. If a play or rough spots occur then the U joint needs to be replaced.
5.Reinstall Driveshaft and Reinstall Flange Bolts


$127.33


Got something to discuss?