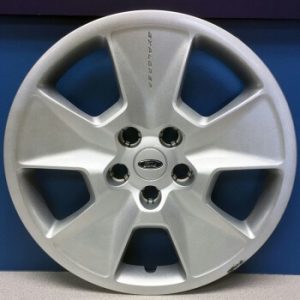
2011-2015 Ford Explorer 17″ Hubcap Wheel Cover
Price list
Still could not find the Part? Contact us @ Find Exact Part in 24 Hours
Specification
| Brand | |
|---|---|
| MPN | BB5Z-1130-A |
| Year | 2011, 2012, 2013, 2014, 2015 |
| Make | |
| Model | Explorer |
| Trim | XLT, Sport, XLT Base, XLT Sport |
| Engine | 4 CYL 2.0L, 6 CYL 3.5L, 6 CYL 3.7L |
| Placement On Vehicle | Front, Rear |
| Surface Finish | Silver |
| Material | Plastic |
| Hubcap Size | 17" |
| Style | 5 Spoke 5 Lugs |
| Warranty | 1 Year |
| Part Number | BB5Z-1130-A, BB5Z1130A BB5Z1130C, 570-7055, 7055, 462-17S |
| Condition | New, Used |
Fit In Five Steps
How to replace a Ford Explorer Hubcap Wheel Cover?
1.Jack Up the Vehicle
While some wheel covers can be installed without removing lug nuts, you may often find that the lug nuts on your wheel are intended to help hold the wheel cover in place. If need to remove the lug nuts on the wheel, first loosen the lug nuts, then jack the car up.
- Always jack your vehicle upon solid, level surfaces like blacktop or concrete.
- Place jack stands beneath the vehicle once you jack it up for safety.
2.Remove the Lug Nuts
Use a tire iron or socket wrench to completely unscrew the lug nuts holding the wheel onto your vehicle. Set the lug nuts aside for you to use when mounting the wheel back onto the vehicle.
- Turn the lug nuts counter-clockwise to unscrew them.
- Be careful not to misplace any lug nuts. It is not safe to drive your vehicle with fewer than the provided amount of lug nuts.
3.Line Up the Ring Indent With the Valve Stem
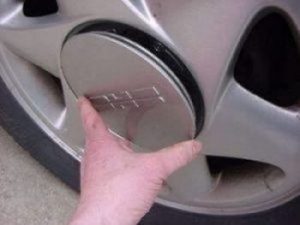
The retention ring on the back of the wheel cover will have an indentation in it, as well as a hole through the wheel cover in the same area. This gap is intended to allow the valve stem to pass through the cover for you to access when adding air to your tires.
- Be sure to align the gap in the cover and retention ring with the valve stem so it can pass through.
- Many wheel covers will have a drawing of a valve stem on the back intended to help you identify where the valve stem passes through.
4.Press the Wheel Cover Directly Onto the Wheel
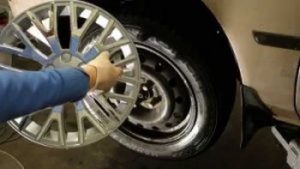
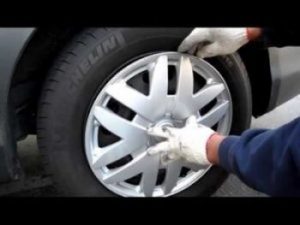
With the valve stem properly aligned through the wheel cover, press the wheel cover directly onto the wheel. If you did not need to remove your lug nuts, the wheel cover should pop into place and not come back off the wheel easily.
- If you do not need to use lug nuts to secure the wheel cover, pull on it a bit to ensure it will not come off while driving.
- The wheel cover should not feel loose, nor should it be easily pulled off.
5.Screw On the Lug Nuts
If you removed the lug nuts previously, use your hands to thread each nut onto a lug stud passing through the wheel and wheel cover. Once you are confident the lug nuts are properly threaded, use a wrench or tire iron to tighten them.
- Be sure to re-tighten the lug nuts once you lower the vehicle down off of the jack.
- Be sure all lug nuts are tight before attempting to drive the vehicle. Installing the Retention Ring and Place the wheel cover face down. Line up the bend with the valve stem notch. Press the metal ring down onto the first few clips. Bend the ring slightly to secure the last clips.

$22.95





Got something to discuss?