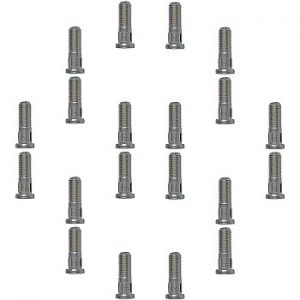
1990-2015 GMC Geo Chevrolet Suzuki Dorman Wheel Studs – Set Of 20 – M12x1.25
Price list
Still could not find the Part? Contact us @ Find Exact Part in 24 Hours
Specification
| Brand | |
|---|---|
| MPN | 610-336, MSP3350x20, 98361.1 |
| Year | 1990, 1991, 1992, 1993, 1994, 1995, 1996, 1997, 1998, 1999, 2000, 2001, 2002, 2003, 2004, 2005, 2006, 2007, 2008, 2009, 2010, 2011, 2012, 2013, 2014, 2015 |
| Make | |
| Model | All |
| Trim | All |
| Engine | All |
| Fitment Type | Direct Replacement |
| Thread Handling | Right Hand Thread |
| Thread Size | M12-1.25 |
| Stud Material | Steel |
| Style | Serrated Stud |
| Warranty | 1 Year |
| Part Number | 610-336, MSP3350x20, 98361.1, 09119-12008, 96057613 |
| Condition | New |
Fit In Five Steps
How to replace a GMC Geo Chevrolet Suzuki Wheel Studs?
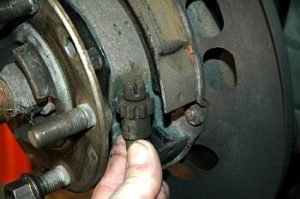
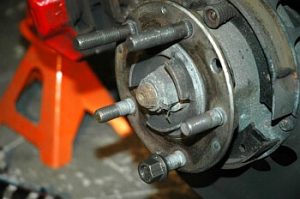
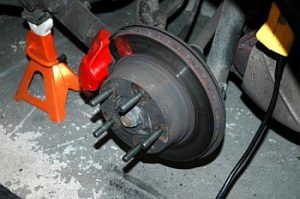
1.Remove the Brake Caliper and Rotor
If you’re replacing a wheel stud for a reason other than damage and you want the possibility of reusing them at a later date, you need to protect the threads. You can do this by screwing a couple of wheel bolts (or similarly fitting bolt) onto the stud before you pound on it.
2.Remove the Old Wheel Stud
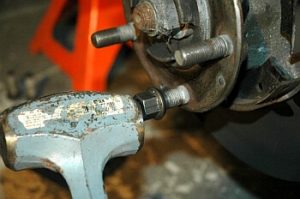
If you’re replacing a wheel stud for a reason other than damage and you want the possibility of reusing them at a later date, you need to protect the threads. You can do this by screwing a couple of wheel bolts (or similarly fitting bolt) onto the stud before you pound on it. This is one auto repair that is less about technique and more about brute force. Take your dead blow hammer (or another heavy hammer if you don’t have a dead blow) and give the front of the old wheel stud a few good whacks until it comes out the back of the hub.
3.Putting and Seating the New Wheel Stud in Place
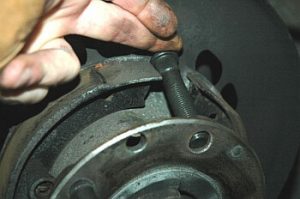
It can be tricky, but there is usually space to slide the old stud out and the new wheel stud in. If you don’t have easy access, rotate the hub to see if there is an area or position that provides enough clearance to get the new stud in there. Insert the new wheel stud into the hole from the back.
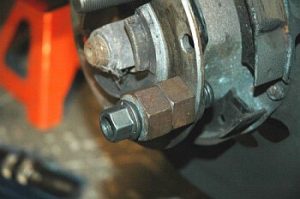
With the new wheel stud in position through the hole, screw a couple of wheel bolts onto the stud. You’ll use these to pull the new stud into place with a wrench or impact wrench.
4.Tightening the New Wheel Stud
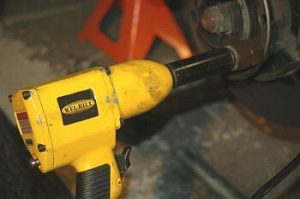
If you have an impact wrench, now’s the time to grab it, strap on the correct size socket and let it do the hard work. If not, you can use a lug wrench or a 1/2-inch drive socket wrench with a long handle. Simply tighten the bolts you put in place until the new wheel stud is fully seated. You can look on the back side of the hub to see when it is fully seated.
5.Finishing Up and Re-Assembling The Brakes
You’re almost finished. Now just reinstall your brake rotor and caliper, put your wheel back on and you’re ready to roll again. Don’t forget to double check your lug nut tightness.
BUY HERE

$10.49


Got something to discuss?