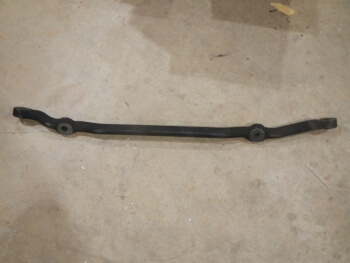
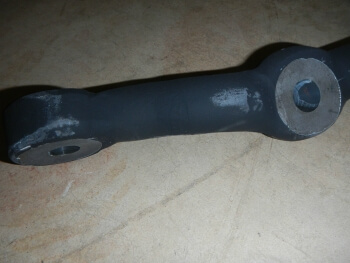
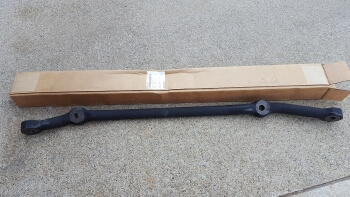
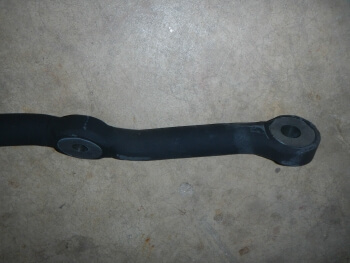
Hummer Humvee Drag Link Center Rod Steering Linkage
Price list
Still could not find the Part? Contact us @ Find Exact Part in 24 Hours
Specification
| Brand | |
|---|---|
| MPN | 2530-01-420-3837, 6023077, RCSK17070 |
| Make | |
| Model | H1, M1114, M998 |
| Trim | All |
| Engine | All |
| Placement on Vehicle | Front-Lower |
| Fitment Type | Direct Replacement |
| Part Number | 2530-01-420-3837, 2530PL0644279, 6003868, 6023077, RCSK17070 |
| Condition | New |
Fit In Five Steps
How to replace a Hummer Humvee Drag Link Center Rod?
1.Materials Needed for Repair
- ½ inch breaker bar
- ½ inch socket, 19mm, and 21mm
- ⅜ inch ratchet
- ⅜ socket set, 10mm-19mm
- Combination wrenches, 13mm-24mm
- Cotter pins (2)
- Floor Jack
- Gloves
- Liquid marking pen
- Safety jack stands (2)
- Safety glasses
- Tie rod(s)
- Tie rod puller tool
Park the car on a flat surface and loosen the lug nuts. Use your breaker bar and correct size socket to bust loose the lug nuts on the front two wheels, but don’t remove them yet. Use the floor jack to raise the front tires off the ground and secure the vehicle in the air with your safety jack stands.
2.Remove the Lug Nuts and the Tire
This will allow you to gain access to the steering components. The tie rod end should be pushed toward the outside of the vehicle. To push the right tie rod end to the outside, the steering wheel should be turned to the left, and vice versa. This gives us a little more room to perform the repair. Prepare to remove the tie rod end. Use the correct size combination wrench to break loose the locking nut for the tie rod end. Loosen the nut enough to expose the threads at the end of the outer tie rod and use your marking pen to mark those threads. This mark will help us later when installing the new tie rod end.
3.Remove the Old Drag Link Center Rod
Remove the cotter pin from the tie rod end. Then find the correct size socket and your ⅜ ratchet. Loosen and remove the castle nut that fastens the tie rod end to the steering knuckle. Use your tie rod puller tool to break the tie rod end out of its cavity in the steering knuckle. Now turn the tie rod end counterclockwise to remove it from the inner tie rod. Count each full rotation as you remove the tie rod – this, along with the marking from earlier, will be used to install the new tie rod end.
4.Install the New Drag Link Center Rod
Screw in the new tie rod end with the same number of turns it took to remove the old one. It should line up very close to the marking made earlier. Insert the other end of the tie rod into its cavity of the steering knuckle. Install and tighten down the nut that fastens the tie rod end to the knuckle. Slide a new cotter pin through the tie rod end and fastening nut. Use your combination wrench to tighten the lock nut, securing the outer tie rod to the inner tie rod. If replacing both outer tie rods, repeat Steps 1-4 on the opposite side.
5.Reinstall the Tires, Snug, Tighten Lug Nuts, and Lower Vehicle
Once the tire is placed back on and the lug nuts snugged down, use your floor jack to remove the safety jack stands and lower the vehicle to the ground. Tighten your lug nuts ½ to ¾ turn past snug. You can feel proud that you have successfully changed your vehicle’s tie rod ends. Due to the fact that your tie rods control the toe alignment angle, it is strongly recommended to take your vehicle to your nearest automotive or tire shop to have a front wheel alignment performed. This will ensure that your tires wear evenly while driving along with using torque to tighten your lug nuts to factory specifications.


$14.50
Got something to discuss?