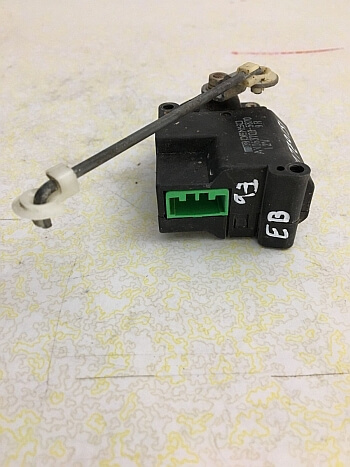
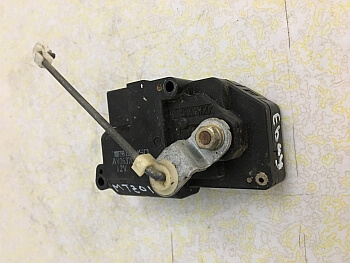
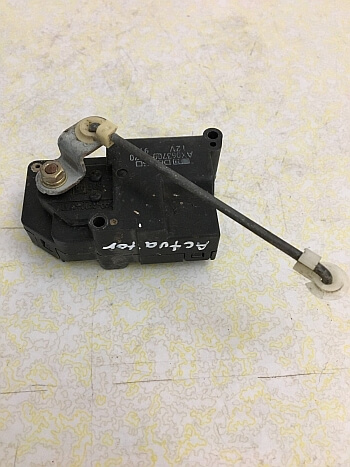
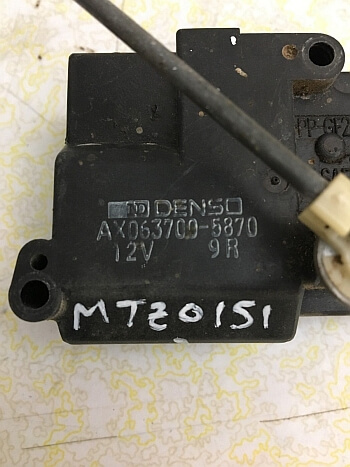

AX063700-5870 | 1996-2006 Honda Civic CR-V Insight Denso Mode Motor Actuator
Price list
Still could not find the Part? Contact us @ Find Exact Part in 24 Hours
Specification
| Brand | |
|---|---|
| MPN | AX063700-5870, 79140-S04-G01 |
| Year | 1996, 1997, 1998, 1999, 2000, 2001, 2002, 2003, 2004, 2005, 2006 |
| Make | |
| Model | Civic, CR-V, Insight |
| Trim | Hatchback 3-Door, Sport Utility 4-Door, Coupe 2-Door, Sedan 4-Door |
| Engine | 1.6L 1590CC 97Cu. In. l4 GAS SOHC Naturally Aspirated, 1.6L 1590CC l4 GAS SOHC Naturally Aspirated, 2.0L 1972CC l4 GAS DOHC Naturally Aspirated, 1.0L 995CC 61Cu. In. l3 ELECTRIC/GAS SOHC Naturally Aspirated |
| Fitment Type | Direct Replacement |
| Placement On vehicle | Left |
| Warranty | 1 Year |
| Part Number | AX 063700 5870, 063700-5872, 4780151, 79140-S04-G01 |
| Condition | Used |
Fit In Five Steps
How to replace a Honda Civic Motor Actuator?
1.Remove the Lower Dash Panel or Glove Box
Using a small socket and ratchet remove the mounting bolts that hold the under dash plastic cover on the passenger side. These screws can be in obscure places so look around for them. Once you have located and removed all of the mounting screws grasp the cover and gently pull it from the underside of the dash. This will expose the heater box with various controls including any wiring. Here is what it looks like when the glove box is removed exposing the blend door actuator for replacement.
2.Remove the Door Actuator
Here is a typical right side temperature actuator used for dual climate controls (also temperature for signal mode units). This actuator hangs below the box which is one of the easier units to replace. Begin by using a small screwdriver to release the wiring safety clip on the harness for the actuator. These clips can be brittle and break so be gentle. Once released gently pull down on the wiring connector and remove it from the blend door actuator. Inspect the connector for rust or corrosion and clean as needed. Locate and remove the actuator mounting screws. There should be two or three screws holding it in place. A small universal might be needed to help remove the screws in awkward places. Once removed place the screws into a small container so they don’t get lost. Once all of the mounting screws have been removed the actuator should become loose. Grasp the actuator and pull it from its mount to remove.
3.Turn the Air Door Pivot and Match the New Actuator
Before installing the new actuator it’s a good idea to manually turn the blend door in both directions to ensure it is not stuck which will cause the new actuator to fail. Grasp the door pivot and move it back and forth to its full travel, it should move freely. If you cannot move the blend door an obstruction has gotten in the way of the door movement which will make the new actuator fail. These obstructions can include pen, toothpick, a small toy or bubble gum to name a few. If the door is stuck the heater plenum with a need to be removed and the problem resolved before installing the new unit. To test the blend door operation and too double check that you are changing the correct actuator motor turn the blower motor on and work the door in each way. You will be able to feel the air change temperature or vent level. Compare the bad actuator to the new unit. Be sure to check the wiring harness connector terminals they should match identically. Now the new part is ready to be installed.
4.Install the New Door Actuator
Install the new part in place as you insert the mounting screws by hand. Be careful not to cross thread the mounting screws because they thread into the plastic housing and can easily strip, (do not over tighten). Once all screws are in place firmly push the wiring harness connector back into the actuator. You should hear a click signaling the correct installing of the connector.
5.Reinstall the Cover or Glove Box and Check For Door
After the installation is complete double check your work and reinstalls the plastic cover. This can take some jostling to get the bolts holes lined up so hang in there. Once the cover is in place start the installation of the mounting screws by hand, once hand threaded install the remainder of the screws. Do not tighten the first screw you have threaded in until all of the screws because it will make the remainder of the screws harder to install. After the cover has been re-installed start the engine to test the repair job by turning the climate control on and moving the controls from hot and cold and from defrost to the mid and floor positions to ensure the new actuator is working as it should.


$28.95
Got something to discuss?