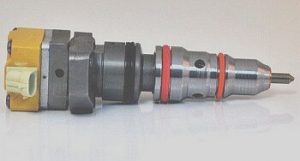
DPS0010 | 1994-2003 7.3L Powerstroke Injector Tuneup Shim Kit with No Tools
Price list
Still could not find the Part? Contact us @ Find Exact Part in 24 Hours
Fit In Five Steps
How to replace a Fuel Injector?
1.Verifying the condition of the fuel injector condition
Start the engine. Check the dash for any engine lights and listen to the engine operation for any cylinders not firing correctly. Feel for any vibrations during engine operation. Shut the engine off and open the hood. Check for any wiring that may be broken or damaged by the injectors.
2.Locate the Fuel Injector
Park your vehicle on a flat, hard surface. Make sure that the transmission is in a park (for automatics) or in 1st gear (for manuals). Place wheel chocks around the rear tires. In this case, the wheel chocks go around the front tires since the rear of the vehicle will be lifted up. Engage the parking brake to the lock the rear tires from moving. Install a nine-volt battery saver into your cigarette lighter. This will keep your computer live and keep your setting current in the vehicle. Open the vehicle’s hood to disconnect your battery.
3.Remove the Old Fuel Injector
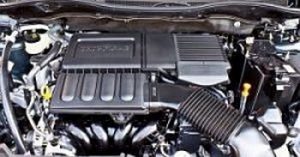
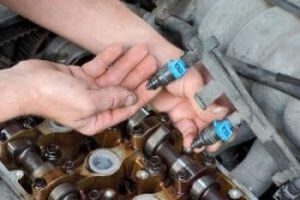
Using the 10 mm socket, start by removing the plastic engine cover. Next, remove the air filter assembly, turbo intake hose, and the closed crankcase ventilation assembly. Disconnect the intercooler tubes and disconnect the main wiring harness. Move to the driver’s side and remove the 13 mm bolts holding the valve cover and remove the valve cover itself. Next, locate the metal clips holding the injectors in place and flip them down. Afterwards, gently disconnect the injectors and the glow plugs. Carefully remove the valve cover gasket and set it aside for reuse. Disconnect the oil spouts with a 5 mm Allen wrench and set them aside. Remove the lower injector retaining bolt using the 8 mm socket. Removing the upper bolt is unnecessary, as the injector’s mounting collar will slide off the upper bolt. Disconnect the injectors starting with the rearmost injector first. Use the small pry bar to carefully lift the injector out of its seat. Use shop towels to clean up excess oil and fuel. Afterwards, use the 10 mm socket to remove the glow plugs.
4.Replacing the New Fuel Injector
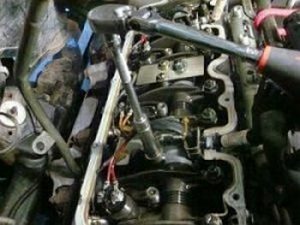
Coat the new injector with clean engine oil and place it in its seat. Moderately tap the injector into the seat with the rubber mallet until the mounting collar slides over the upper retaining bolt. Secure the injector with the lower retaining bolt. Use the torque wrench with the 8 mm socket to tighten the bolt to 120 inch-pounds. Reattach the oil spouts and tighten the 5 mm Allen bolt. Replace the valve cover gasket and secure the injector via the metal clip. Retain but do not tighten the valve cover with the 13 mm bolts. With the glow plugs disconnected, purge the excess fuel and oil out of the cylinders by cranking the vehicle for 20 seconds. Allow the starter to cool down and crank for another 20 seconds. Reinstall the glow plugs by torquing each plug with the 10 mm
5.Checking For Leaks and Test Drive the Vehicle
Reconnect the ground cable back to the battery’s negative post. Remove the nine-volt battery saver from the cigarette lighter. Tighten the battery clamp up tight. Ensure that the connection is good. Listen for the fuel pump to activate and turn off the ignition after the fuel pump stops making noise. Use a combustible gas detector. Check all of the connections for any leaks and sniff the air for any fuel odors. Pull out the jack and put it aside. Remove the wheel chocks and Test drive the vehicle.

$45.00


Got something to discuss?