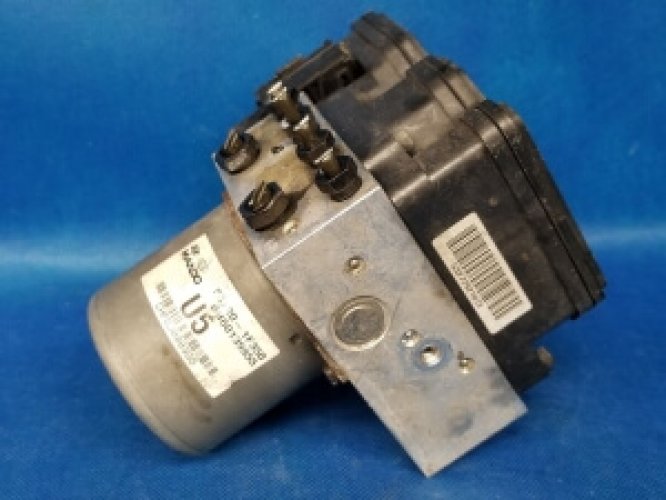
58920-1F350 | 2009 Kia Sportage ABS Control Unit Modulator Valve
Price list
Still could not find the Part? Contact us @ Find Exact Part in 24 Hours
Specification
| Brand | |
|---|---|
| MPN | 589201F350 |
| Year | 2009 |
| Make | |
| Model | Sportage |
| Trim | EX Sport Utility 4-Door, LX Sport Utility 4-Door |
| Engine | 2.0L 1975CC l4 GAS DOHC Naturally Aspirated, 2.7L 2656CC V6 GAS DOHC Naturally Aspirated |
| Placement on Vehicle | Front |
| Fitment Type | Direct Replacement |
| Warranty | 1 Year |
| Part Number | 58920-1F350, 58920-1F350QQK, 589201F350 |
| Condition | New |
Fit In Five Steps
How to replace a Kia Sportage ABS Control Unit Modulator Valve?
1.Find the Control Module Codes and Get the Vehicle Ready
In the first instance, you should use a car diagnostic laptop that allows you to access your car’s ABS system to find out the appropriate codes that monitor and work with the ABS controller. When you have written these down then it’s time to jack up the car and put it on jack stands.
2.Remove the Battery and All Fluid Lines
Next, you’ll need to disconnect the battery to give you more room to access the ABS pump. Following this procedure, drain the brake reservoir through the bleeding screw and discard all the old fluid, taking care not to spill any fluid in the engine compartment. Then loosen all the lines running into the ABS system alongside any wiring. Be careful as these connectors tend to be inflexible and will need to be pushed gently out of the way.
3.Remove the ABS Unit & Separate the ABS Pump from the Unit
Find the bolts holding the ABS unit in place. Taking care, loosen these ones by one and gently slide the ABS unit out of its seating. There may be other parts of the engine blocking you from removing the ABS unit, such as the brake fluid sensor, so if necessary take these out before removing the unit. Now you should be able to separate the ABS pump from the unit and swap it with the new part quite easily. This should be a simple job and one that you can complete away from the main body of the vehicle.
4.Reinstall the ABS Pump ABS System
Reverse the previous steps to install the ABS unit back into the car. Gently slide it into position and replace any other engine components you removed to allow you access to the ABS system. Next up reconnect all the wires and then the pipes to the ABS system and the car should be ready to go mechanically.
5.Finish Off Process
The final steps are first to add fluid to the braking system and then secondly bleed out any air in the system – then make sure that the computer is synced up with the ABS pump using the codes that you acquired from the system in step 1 together with the diagnostic laptop. When you have finished this job, if there are no warning lights on the dashboard, no leaks from any of the brake pipework and the brake pedal is nice and firm then you can be satisfied that you have successfully changed the pump. It is always advised to road test the vehicle carefully after repairing any braking related item.

$887.91


Got something to discuss?