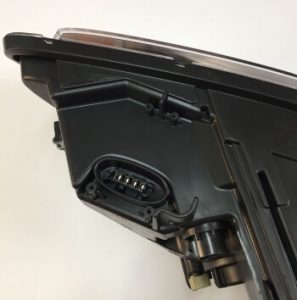
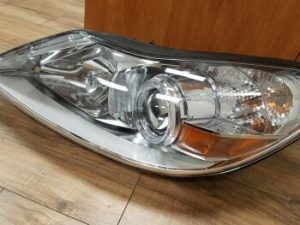
2008-2014 Hyundai Genesis Front Headlight Assembly Pair
Price list
Still could not find the Part? Contact us @ Find Exact Part in 24 Hours
Specification
| Brand | |
|---|---|
| Year | 2008, 2009, 2010, 2011, 2012, 2013, 2014 |
| Make | |
| Model | Genesis |
| Trim | 3.8 Sedan 4-Door, 4.6 Sedan 4-Door |
| Engine | 3.8L 3778CC V6 GAS DOHC Naturally Aspirated, 4.6L 4627CC V8 GAS DOHC Naturally Aspirated |
| Placement on Vehicle | Front |
| Fitment Type | Direct Replacement |
| Material | ABS Plastic |
| Headlight Style | Factory |
| Bulb Type | Halogen |
| Warranty | 1 Year |
| Part Number | 92102-3M080, 92101-3M080 |
| Condition | New, Used |
Fit In Five Steps
How to replace a Hyundai Genesis Headlight?
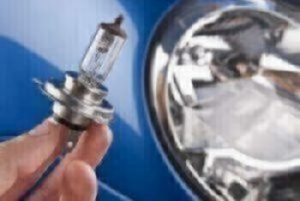
1.Identify your Bulb Type
It is very important to use the correct type of bulb and wattage when replacing a headlight that is burned out. There are a couple of very easy ways to identify what type of light bulb your vehicle needs: Refer to your owner’s manual—You may find either a graph or chart identifying the bulb wattage and bulb number. Use an online bulb finder—There are online tools that can help you find the bulb meant for your vehicle’s make, model, and year.
2.Tools for the Job
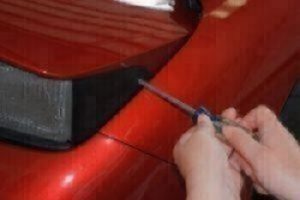
There are no especially high-tech tools necessary for changing a headlight bulb. But you should make sure that you have a couple things handy. They are Vehicle owner’s manual; Rubbing alcohol or alcohol wipes; Screwdriver; Safety glasses.
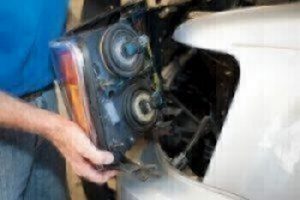
3.Locate Headlight Assembly
Open and prop your vehicle’s hood. Remove the power connector from the back of the headlight. This may require a slight turn to get it loose. Remove the dust cover from the back of the headlight. This also may require a small twist to get loose. Some cars have a clip that holds the bulb in place. Press down on this clip to release the light bulb.
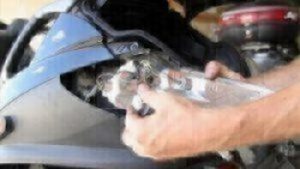
4.Remove and Replace New Headlight
Grasp the housing of the bulb and pull it out. This step may require a little wiggling to get it loose. Do not pull the bulb by the glass or tug the bulb roughly. You could cause it to break. Holding the old bulb and new bulbs by their housings, compare to make sure they match. To guarantee your bulb is free of dust and fingerprints, gently wipe it with a pre-moistened alcohol wipe or rubbing alcohol on a dust-free cloth. Line up the bulb housing with the open socket and insert carefully. Make sure it’s secure. Slide the bulb back in place and twist if necessary to make sure it’s locked into its spot.
5.Checks for Lights
Replace the clip (if you have one), dust cover, and power connector. Turn on your headlights to ensure the bulb and connection are working. Close the hood and pat yourself on the back.

$79.95





Got something to discuss?