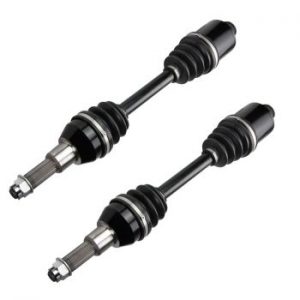
2000-2005 Honda TRX 350 Rancher UTV 4×4 Front Left & Right ATV CV Joint 2 Axle Pair
Price list
Still could not find the Part? Contact us @ Find Exact Part in 24 Hours
Specification
| Brand | |
|---|---|
| MPN | 90072 |
| Year | 2000, 2001, 2002, 2003, 2004, 2005 |
| Make | |
| Model | Rancher 350 |
| Trim | TRX350FE 4X4 ES, TRX350FM 4X4 S |
| Engine | All |
| Placement on Vehicle | Front |
| Fitment Type | Direct Replacement |
| Country/Region of Manufacture | China |
| Warranty | Lifetime |
| Part Number | 90072, 42250-HN5-671, 42220-HM7-003, 42350-HN5-671 |
| Condition | New |
Fit In Five Steps
How to replace a Honda TRX 350 Rancher UTV Axle?
1.Locate & Secure Vehicle
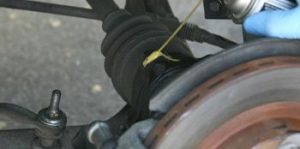
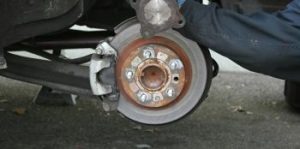
While the basic concept of a CV joint axle is the same from vehicle to vehicle, there are a number of different peculiarities that make access to a service manual an important first step before disassembly. Axle pullers and impact wrenches may be required. Pry bars, c-clips and snap rings inside differentials may also be part of the bargain. This knowledge is best gained before getting started, not while 90-weight gear oil is dripping down your sleeve. This is a rear drive vehicle with two CV joint axles. Start by disconnecting the battery, jacking up the vehicle and allowing some penetrating oil to soak into any retaining bolts.
2.Unbolt Axle Screws
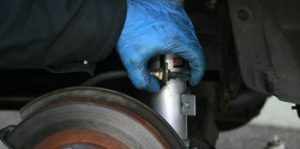
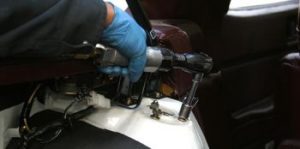
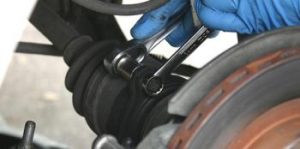
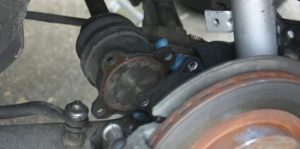
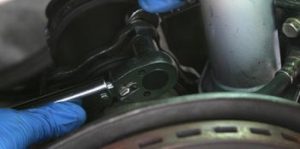
In this case, suspension disassembly was not required. Moving brake lines and other obstacles out of the way of wrenches is a good bet before beginning. Loosening but not removing the strut top mounts and sway bar end link bushings can provide a bit more suspension travel for easier axle removal. Loosen and remove the wheel side axle mounting bolts.
3.Remove Old CV Joint
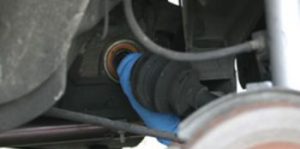
Separate the axle from the wheel. Do not allow the axle to hang from the transmission or differential. Oil seals could be damaged. Gently pull, pry or otherwise liberate the axle from the transmission or differential. Do not bend axle seals. Be careful not to tear the transmission or differential oil seals. The axle splines on the left show damage. Note the c-clip on both axles.
4.Install New CV Joint
Don’t forget to transfer any axle seals, ABS rings or other parts to the replacement axles. Guide the replacement CV joint axle into place. Depending on the type of retainer, the axle should click firmly in place.
5.Reassemble Removal Parts
Always use the proper torque on the axle bolts. Check axle rotation. Reassemble dismantled components.

$74.99




Got something to discuss?