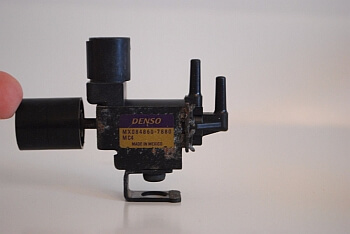
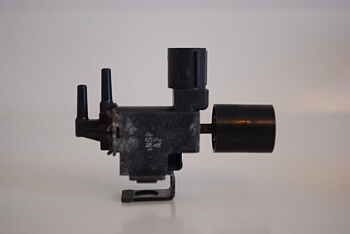
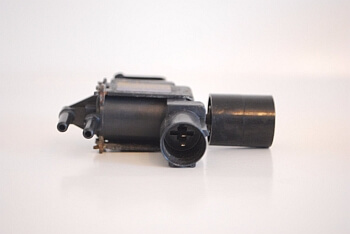
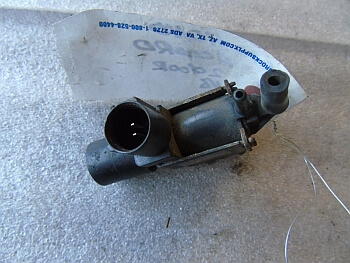
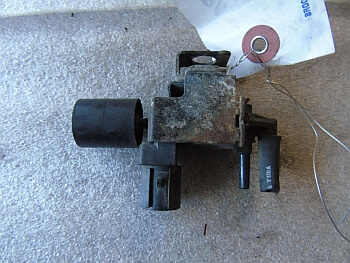
1996-2005 Honda Acura OEM Vacuum Switch
Price list
Still could not find the Part? Contact us @ Find Exact Part in 24 Hours
Specification
| Brand | |
|---|---|
| MPN | MX084860-7880 |
| Year | 1996, 1997, 1998, 1999, 2000, 2001, 2002, 2003, 2004, 2005 |
| Make | |
| Model | Accord, Odyssey, Prelude, TL |
| Trim | Sedan 4-Door, Coupe 2-Door, Passenger Van 5-Door, Cargo Van 5-Door, Wagon 5-Door |
| Engine | 2.7L 2675CC V6 GAS SOHC Naturally Aspirated, 2.2L 2156CC l4 GAS SOHC Naturally Aspirated, 3.2L 3206CC V6 GAS SOHC Naturally Aspirated, 2.5L 2451CC l5 GAS SOHC Naturally Aspirated, 2.7L 2675CC V6 GAS SOHC Naturally Aspirated, 3.0L 2997CC V6 GAS SOHC Naturally Aspirated, 3.5L 3474CC V6 GAS SOHC Naturally Aspirated, 2.4L 2354CC l4 GAS DOHC Naturally Aspirated |
| Placement on Vehicle | Front |
| Warranty | Yes |
| Part Number | MX0848607880, 084860-7880, 084860-7880 99-02 |
| Condition | Used |
Fit In Five Steps
How to replace a Honda Acura Vacuum Switch?
1.Materials Needed
- Colored tape and a pen
- Drain pan
- Jack
- Jack stands
- New coolant vacuum valve switch
- New vacuum lines
- Pliers
- Recommended replacement coolant
- Screwdriver set, standard and Philips head
- Shop rags
- Wrenches and sockets
2.Locate the Valve Switch
The coolant vacuum valve switch is commonly found on top of the engine. In many cases, it will be screwed into the intake manifold near the rear of the engine. On some older engines, there may even be two coolant vacuum valve switches, located on the top or sides of the intake manifold.
You’ll need to drain the coolant from the radiator to complete this job, and in order to do so, you’ll have to make sure the front end of your vehicle is elevated enough so you can easily complete this task. This means raising the vehicle. Anytime you jack up a vehicle or drive it onto ramps, you need to be on level ground. Always place wheel chocks behind the rear tires before completing this task.
3.Replacing the Vacuum Valve Switch
Removing the radiator cap and coolant reservoir cap removes any vacuum pressure inside the coolant system, allowing you to drain the radiator fluid. When replacing the coolant vacuum valve switch, you should always disconnect the battery cables. Remove the positive and negative terminals and set them aside until the job is complete.
It’s recommended by most certified mechanics to drain the radiator completely any time you work with the coolant system. Drain the radiator by loosening the petcock valve or the drain plug. Make sure you have a large enough container in place to collect the coolant. Make sure you have already marked where each vacuum line will be replaced before removing them.
Some coolant vacuum valve switches may have an electrical connection or harness attached. Remove this before removing the unit. In most cases, you’ll need an open end wrench to remove the valve switch from the intake manifold.
4.Install the New Vacuum Valve Switch
Hand tightens the new switch on the intake manifold. Once it is hand tightened, continue tightening it with an end wrench until it is snug. After you’ve installed the new coolant vacuum valve switch and its corresponding lines, you’ll need to proceed to add new coolant to the radiator. But before you proceed, make sure that your radiator drain plug or petcock is tightened and that no radiator fluid is continuing to drain.
Slowly fill the radiator to the top using the correct ratio of coolant and distilled water and allowing any bubbles to come naturally to the top. Continue to add fluid until the radiator is completely full. Once full, place the radiator cap on the fill neck and secure tightly. After filling the radiator to the top, make sure to add coolant to the coolant reservoir overflow tank as well.
5.Starting the Engine and Test Driving the Vehicle
Make sure to drive the vehicle until you hear the radiator fan come on. Once you do, return home while keeping an eye on the thermostat or engine temperature. Once the vehicle has cooled for a minimum of one hour, recheck the coolant level inside the reservoir and fill if needed.


$8.00


Got something to discuss?