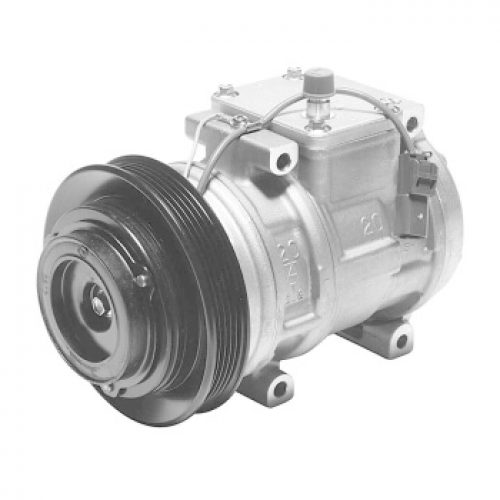
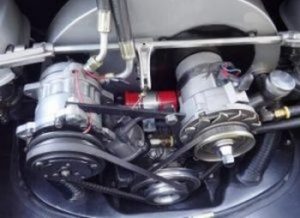
1993-1998 Acura Legend TL 3.2L-V6 A/C Compressor and Clutch-New Compressor
Price list
Still could not find the Part? Contact us @ Find Exact Part in 24 Hours
Specification
| Brand | |
|---|---|
| MPN | 471-1182 |
| Year | 1993, 1994, 1995, 1996, 1997, 1998 |
| Make | |
| Model | Legend, TL |
| Trim | Base Sedan 4-Door, GS Sedan 4-Door, L Coupe 2-Door, L Sedan 4-Door, LS Coupe 2-Door, LS Sedan 4-Door, Premium Sedan 4-Door, SE Sedan 4-Door |
| Engine | 3.2L 3206CC V6 GAS SOHC Naturally Aspirated |
| Placement on Vehicle | Front |
| Fitment Type | Direct Replacement |
| Warranty | 1 Year |
| Part Number | 471-1182, 77328; 1783; CO 25004C, 14-2783NIP, 35062, 57351, 8810 PY3 043, 447170-2056, CO 25004U |
| Condition | New |
Fit In Five Steps
How to replace an Acura Legend TL A/C Compressor and Clutch?
1.Secure the Vehicle
Open the bonnet/hood and Disconnect the negative side of the battery to avoid electrical short when working on the engine. Always wear eye protection. Identify and remove refrigerant in accordance with any state and federal regulations before working on the vehicle.
2.Locate the Acura Legend TL A/C Compressor and Clutch
To locate the left A/C Compressor assembly in your car. Use the manual instructions to follow their replacing procedure.
3. Remove the Old Acura Legend TL A/C Compressor and Clutch
Remove the failed compressor from the vehicle. Transfer any switches, sensors, brackets, or manifolds from the original compressor to the replacement unit. On many GM models, the high pressure cut out switch (red) is located on the back of the compressor. It must be transferred over to the replacement part. It’s retained by a small snap ring and sealed with an o-ring. Thoroughly flush each component not being replaced with an approved AC flush solvent. Once each component has been flushed of all contamination it is necessary to air dry these components using compressed and/or filtered shop air to ensure no flushing solvent remains.
4.Replace the New Acura Legend TL A/C Compressor and Clutch
Replace the accumulator or dryer and all expansion devices. This would include the orifice tube and screen that most vehicles use today. Note: some Dodge and heavy-duty trucks use an expansion valve instead of an orifice tube set up. Refer to your car repair manuals for vehicle specific instructions. After installing the replacement compressor on the vehicle ensure proper mounting and belt alignment. It is recommended to install an in-line filter in the suction line near the compressor inlet. This will prevent possible debris from entering and destroying the replacement unit.
5.Check for Leakage and Test Drive
Add the proper type and amount of ac oil as per manufacturers procedures. Some suppliers of re-manufactured compressors install the oil in their unit. Be sure to follow any and all instructions that come with the replacement air conditioning compressor. Apply a vacuum to the car ac system. A minimum of 29 inches of mercury for one hour to ensure moisture and residual flushing solids or boiled from the system. Replace Oil Ring and Reinstall any tubes or hoses removed in the replacement process continue by tightening all bolts, screws, clips or brackets previously removed.

$313.33




Got something to discuss?