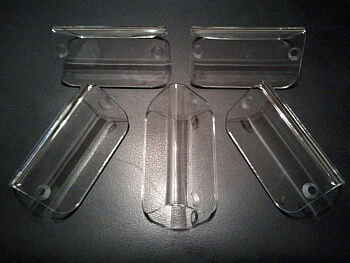
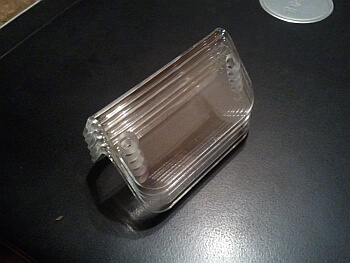
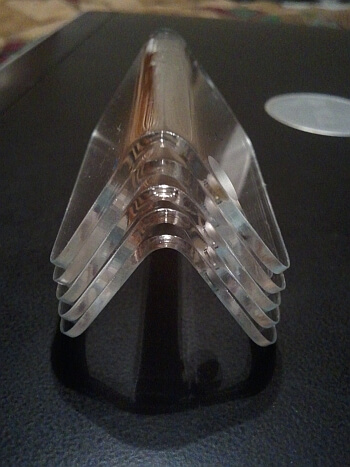
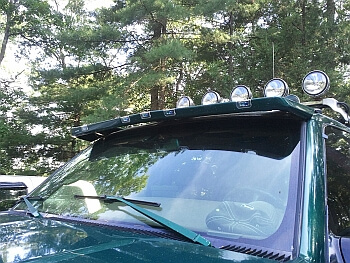
CM100B | Chevrolet GMC Ford Dodge Lund Visor Moonvisor Sunvisor Clear Lenses Light Covers
Price list
Still could not find the Part? Contact us @ Find Exact Part in 24 Hours
Specification
| Brand | |
|---|---|
| Make | |
| Model | All |
| Placement on Vehicle | Front, Rear |
| Fitment Type | Direct Replacement |
| Lens Color | Clear |
| Bulbs Included | No |
| Mounting Hardware Included | No |
| Country/Region of Manufacture | United States |
| Part Number | CM100B, B00DO72KMC |
| Condition | New |
Fit In Five Steps
How to replace a Sunvisor Light Covers?
1.Choosing a Replacement Sun Visor Light Cover
Before you replace your old sun visor, you need to find a replacement. When searching for a replacement, remember to keep in mind the make and model of your car so that you purchase the proper size of the sun visor. First, determine how much money you have to spend on a replacement sun visor. You can find inexpensive sun visors online or at local retailers. Ensure that you know the size of sun visor you need before shopping to make the process easier. When determining the type of sun visor you want, you can choose from a few options. When selecting a replacement sun visor, also consider what color you prefer.
2. Prepare for Removing Process
The Materials Needed For Repairing Screwdriver (flathead and Philips’ head). Take the sun visor and pull it down. Turn it to the side so that it is up against the window. Use a flat-head screwdriver to pry the plastic cover off of the main assembly. The main assembly is the area where the sun visor attaches to the ceiling of the vehicle. Look for any tabs, and try not to break them when removing the cover. The number of tabs, if any, depends on the make and model of the vehicle. Remove the plastic cover by inserting a flathead screwdriver into the slit running down from the top portion of the plastic cover surface. Wiggle the cover carefully until it comes loose, moving the sun visor around if necessary. This should expose the screws of the main assembly.
3.Removing the Old Sun Visor Light Cover
Depending on the type of screws, use either a flathead or Phillips head screwdriver to remove all of the screws holding the visor in place. The number of screws typically range from two to four. After removing all of the screws holding the visor in place, pull the visor out of the main assembly. You might have to twist the visor slightly to clear any tabs that help hold the visor in place. Remove the old sun visor assembly.
4.Replace New Sun Visor Light Cover Assembly
After removing the old visor, it is time to install the new one. Make sure you install it with any mirrors or warning labels facing the passenger’s or driver’s seat. Take the replacement visor and insert the visor stem into the sun visor assembly. For visor stems that have a tab, insert the tab into the placement hole. Then slide the rest of the visor stem into place. Line up the screw holes of the assembly with the visor placement holes. Insert the screws and tighten them down, using a flathead or Phillips head screwdriver, depending on the screw type.
5.Replace the Assembly Cover
Snap the assembly cover back into place. Replace it carefully to avoid cracking the cover. Also, make sure to fit all tabs back into their slots properly. Test the sun visor to make sure it works properly and has a full range of motion. Keeping your vehicle’s sun visors in good repair means you can drive safer and in comfort by keeping the sun out of your and your passenger’s eyes. If you do not feel confident to properly replace a sun visor yourself, seek the help of an expert mechanic to perform the task for you.


$35.00
Got something to discuss?