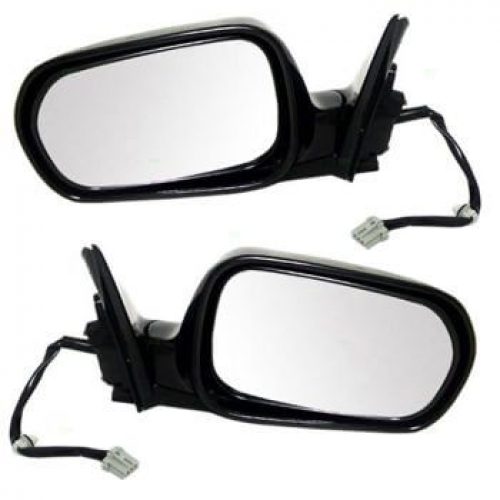
1999-2002 Honda Accord Power Side View Mirrors Folding Pair
Price list
$47.69
March 13, 2020 2:14 am
×
Product prices and availability are accurate as of the date/time indicated and are subject to change. Any price and availability information displayed on Amazon.com (Amazon.in, Amazon.co.uk, Amazon.de, etc) at the time of purchase will apply to the purchase of this product.
1 new
from $ 47.69
$51.72
March 13, 2020 2:14 am
×
Product prices and availability are accurate as of the date/time indicated and are subject to change. Any price and availability information displayed on Amazon.com (Amazon.in, Amazon.co.uk, Amazon.de, etc) at the time of purchase will apply to the purchase of this product.
1 new
from $ 51.72
$59.05
March 13, 2020 2:14 am
×
Product prices and availability are accurate as of the date/time indicated and are subject to change. Any price and availability information displayed on Amazon.com (Amazon.in, Amazon.co.uk, Amazon.de, etc) at the time of purchase will apply to the purchase of this product.
1 new
from $ 59.05
$76.99
$93.95
March 13, 2020 2:14 am
×
Product prices and availability are accurate as of the date/time indicated and are subject to change. Any price and availability information displayed on Amazon.com (Amazon.in, Amazon.co.uk, Amazon.de, etc) at the time of purchase will apply to the purchase of this product.
1 new
from $ 76.99
Still could not find the Part? Contact us @ Find Exact Part in 24 Hours
Specification
| Brand | 1A Auto, AM-Autoparts, Autoandart, Brock Supply, Prime Choice |
|---|---|
| MPN | 1AMRP00100, 7331-5032LR, AM-42690263, KAPHO1320125PR |
| Year | 1999, 2000, 2001, 2002 |
| Make | |
| Model | Accord |
| Trim | Sedan 4-Door |
| Engine | 2.3l 2254cc L4 Gas Sohc Naturally Aspirated, 3.0l 2997cc V6 Gas Sohc Naturally Aspirated |
| Placement on Vehicle | Front |
| Fitment Type | Direct Replacement |
| Warranty | Lifetime |
| Part Number | 128-53134R, 128-53135L, 76200S4KA41ZF, 76250S4KA41ZF, 955-426, 955-427, HO1320125, HO1320126, HO1320132, HO1321125 |
| Condition | New |
Fit In Five Steps

1999-2002 Honda Accord Power Side View Mirrors Folding Pair
$47.69


Got something to discuss?